In general, there are significant challenges to waterproofing any low-slope surface, and these challenges are compounded when this surface is being used as a rooftop living space.
Despite these challenges, rooftop living areas are becoming increasingly common, and knowing how to properly waterproof these areas has become important for the roofing and waterproofing contractor.
David Delcoma, product marketing manager at MFM Building Products, confirms, “This a growing trend. People are looking for ways to expand their living space and our contractors are increasingly fielding questions on this topic. “

On residential projects, proper materials, detailing and craftsmanship are especially critical, as the waterproofing is applied over a lightweight substrate such plywood.
Despite the challenges, with good design, materials, and installation expertise it is quite possible to install a long-lasting waterproof walkable roof deck over a wooden substrate.
John Ogilvie, president of Duradek, says that before his company began marketing their product—a PVC roof membrane capable of pedestrian traffic—for this application, they did considerable research. “We talked to industry leaders…and lots of experienced tile contractors who had been around long enough to see the results of working with the different materials that were available to them,” he says.
“Some of the best advice given to was this: If a customer is interested [in having a walkable roof deck] but doesn’t have a budget sufficient to do it properly, they should not even consider it. Taking ‘money-saving’ shortcuts could prove to be extremely expensive in the long run.”

Designed for Drainage: The first step to a long-lasting deck is to ensure it’s designed with adequate slope and drainage. Despite being called “flat,” all roofs require some slope to eliminate ponding water. Ogilvie says, “Two percent (approximately 2.5 inches in 10 feet) is safe. Many people consider this excessive and try to reduce it, only to find later that with settling of the building, frame shrinkage and uneven floor joists, there are puddles. By then, of course, it’s too late.”
The design should also account for how the water will get to ground level. The most simple and effective way is to let it flow over the side of the deck. Most residential decks, though, have some sort of parapet or railing, which usually means installing scuppers and/or drains. These add significantly to the degree of difficulty. Drains and scuppers should be let into the deck surface so as not to allow ponding to occur. Ogilview adds, “In general, scuppers are very difficult to detail in such as way as to make them truly impervious to wind, rain, snow, and structural deflection.”

Building authorities may require additional overflow drains to handle water from extraordinary storms.
Regardless of whether the design calls for scuppers or for the water to simply flow off the edge, it is critical that water be deflected away from adjoining walls. Even a rain-screen wall would have difficulty handling the volume of water flowing off a deck that is not diverted properly. Simple pre-manufactured diverters can be installed on the deck surface and waterproofed to easily deflect water away from any critical areas.
Structural Sequencing. A walkable roof deck assembly needs to be very stiff to reduce deflection. Assuming the joist spacing and sizing is appropriate, the next step is to reinforce the structural sheathing. Ogilvie says, “Our research indicates the best practice is ¾” plywood with a ½” cement backer fastened on top… The fasteners should only be long enough to attach it to the plywood beneath, not to the joists to allow it to float. Any flatness issues need to be dealt with before the waterproofing membrane is applied.
Next comes the waterproofing membrane, with proper detailing and flashings. In some cases, a drainage plane under the tile might be needed. This is typically fastened to the membrane with a thinset bonding adhesive (not necessarily the same one used to bond the tile). This layer also provides additional crack isolation protection.
Only then can tile be applied with a compatible thin-set mortar. Railings should be mounted to the fascia or on a raised base plate. Surface mounted rails are strongly discouraged, unless the waterproofing membrane is self-sealing.

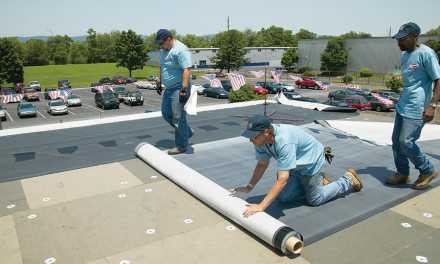
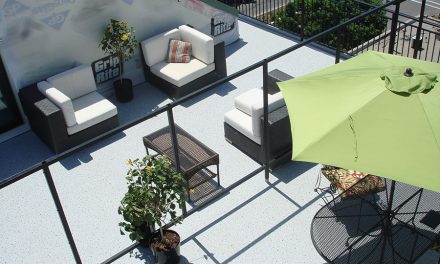
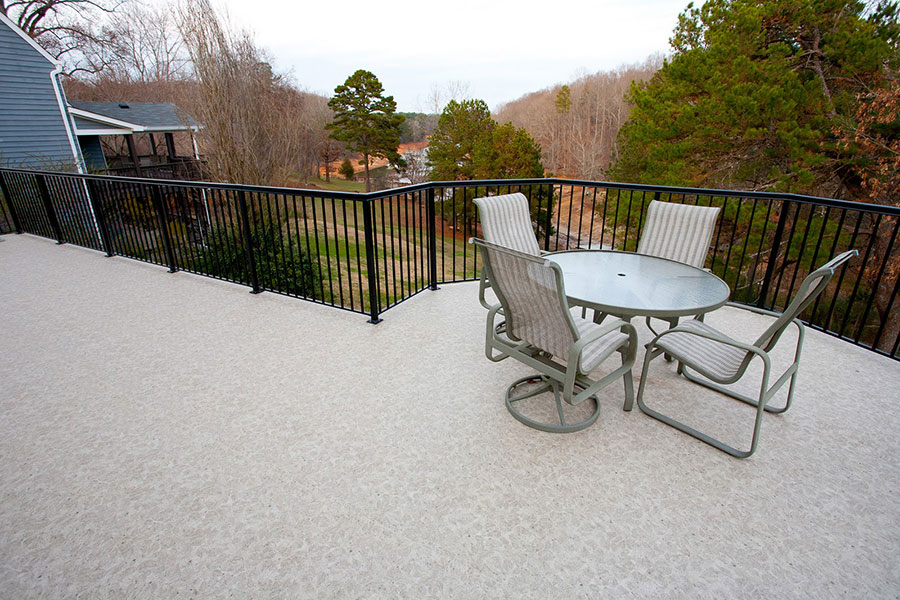
Experienced contractors and proven materials transformed a leaky flat roof into an inviting rooftop patio. The first step (left) was removing the old roofing. Then, additional slope was added and vinyl waterproofing carefully dry-fit into place. The finished deck (right) will provide the owner with years of worry-free outdoor living space.
Ogilvie summarizes, “We believe these applications requires professional installation by tradesmen familiar with the intricate details that decks and balconies present.”
Foolproof Flashing and Detailing: As noted above, most residential and commercial roofs will have a parapet wall around the perimeter. Delcoma reports that this joint where the parapet wall meets the meets the horizontal roof deck is one of the most common leak points. The quality of detailing here can often mean the difference between successful long term performance of a waterproof walkable deck, and complete structural failure.
It should go without saying that waterproofing systems should always be installed by manufacturer-approved and/or trained technicians. Ogilvie says, “One of our contractors in the San Francisco Bay area recently completed a repair of a failed job that involved a new ceiling, replacement of rotted floor joists, door removal and obviously a whole new tile installation. The repair was over $70,000 for a deck that was only about 500 square feet. There was a waterproofing membrane present, but it was not installed with roofing details. It was most likely installed by the tile setter who never professed to be a roofer. It could have been avoided by spending an extra few dollars per square foot to have a proper tile-compatible roofing membrane installed in the first place.”
Choosing Materials
In selecting a waterproofing membrane, a number of factors should be kept in mind. It should be tolerant of foot traffic, moisture, mildew, and chemicals. It should also be relatively lightweight. Delcoma says some waterproofing membranes are too heavy to properly waterproof both the parapet wall and roof deck simultaneously. And as noted above, it’s desirable to have a membrane that’s self-sealing around common fasteners.
Duradek markets a PVC sheet membrane that’s been used with good success. Seams can be heat-welded, and the membrane can be welded directly to PVC drains and scuppers. Today’s waterproof PVC membranes can be expected to last for 15 to 20 years or longer depending on the environment, UV exposure, service use and maintenance.
MFM Building Products offers contractors several options for waterproofing lightweight decks. MFM SubSeal is a 40- or 60-mil, self-adhering, prefabricated sheet-type waterproofing membrane. It is composed of a tough multi-layer, cross-laminated film that is designed for both horizontal and vertical waterproofing applications. It aggressively bonds to the substrate and self-seals around fasteners to prevent damage that could be caused by water penetration. SubSeal is available in cut widths or 36” rolls and has a UV exposure rating of 90 days.

Peel & Seal is a 45-mil laminate of reflective aluminum foil, rugged cross-linked polymer films, and a thick layer of rubberized asphalt. Peel & Seal is designed to be left exposed to the elements indefinitely, and is the ideal choice as a waterproofing member where there is potential long-term UV exposure. This self-adhering and self-sealing product comes is cut widths or 36” rolls. The MFM products come with a 10-year warranty.
Installation
When installing any self-adhering membrane, the first step is to make sure that all surfaces are clean, dry and free of debris. Some surfaces, such as masonry, require priming with a commercial asphalt-based primer. Contact the membrane manufacturer for priming specifications. Most self-adhering membranes have a minimum installation temperature and UV exposure rating, which should be taken into consideration. There may also be installation notes from the manufacturer on installing over solvent-based sealants and items containing plasticizers. Read and understand all installation instructions fully before apply the waterproofing membrane.
When installing the waterproofing membrane, start by flashing the transition point between the parapet wall and horizontal surface. This should be done with an 18” or larger membrane, equidistant between the wall and roof deck. Overlap the end point of all flashings by a minimum of 6”. Finish the flashing detail by rolling the surface firmly with a hand roller, paying special attention to all overlaps.
To install the membrane to the horizontal roof deck, install in a shingle-like manner so moisture runs over the laps. Run the membrane along the horizontal roofing surface, over the flashing detail, then up the vertical wall and terminate under the top cap of the parapet wall. If terminating before the top cap, you must install a termination bar. Overlap all side laps by a minimum of 3” and all end laps by a minimum of 6”. Roll the entire surface firmly with a hand or large push roller to ensure positive contact between the membrane and roofing surface. n
Tips for Successful Installation
- Make sure you read and follow the membrane manufacturer’s installation instructions fully
- Prepare the surface appropriately to receive the membrane
- Avoid excessive foot traffic on the membrane to limit the potential or damage
- Membranes are not designed for ponding water, proper drainage is required
- Ensure that you flash the transition point between the wall and roof deck
- Any roof work is dangerous, use proper safety equipment and precautions
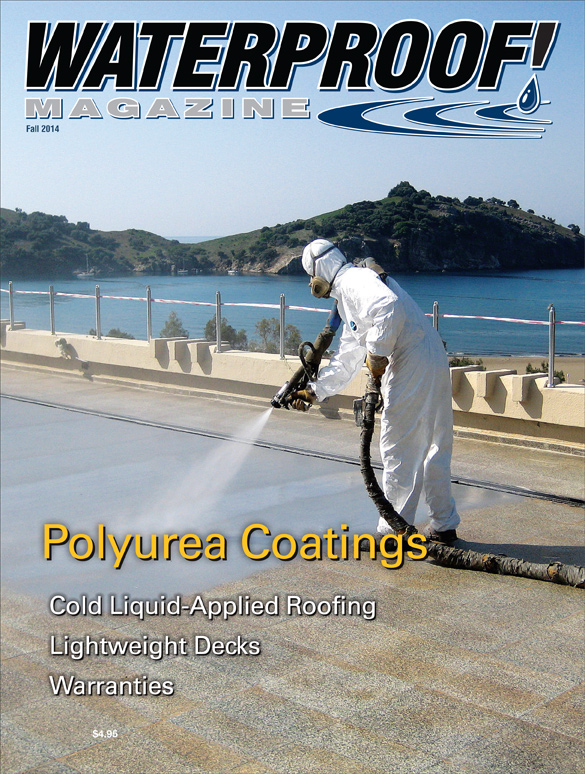
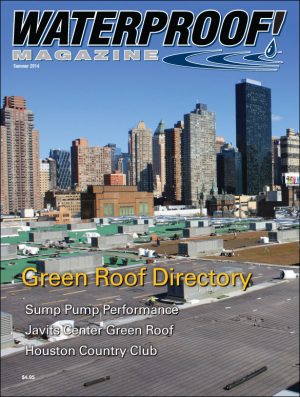
Fall 2014 Back Issue
$4.95
Apples To Apples – Comparing Waterproofing Warranties
Polyurea Coatings: The Basics
Cold Liquid-Applied Roofing By Kelly Franklin
Moisture And Lightweight Decks
AVAILABLE AS DIGITAL DOWNLOAD ONLY
Description
Description
Apples To Apples – Comparing Waterproofing Warranties
Manufacturer warranties can be confusing, and often focus on the length of coverage instead of the terms. Here’s what a good warranty should cover as well as the limits of liability.
Polyurea Coatings: The Basics
Developed in the 1990s for the automotive industry, this technology has skyrocketed in popularity due to its fast-curing, corrosion- and abrasion-resistant characteristics.
Cold Liquid-Applied Roofing By Kelly Franklin
New technology allows built-up roofing to be applied without hot tar kettles, open flames, or noxious odors. A few are self-flashing and require no reinforcing mesh.
Moisture And Lightweight Decks
An increasing number of residential projects involve walkable roof decks. Careful design and detailing are crucial to ensure that they remain waterproof.
Additional Info
Additional information
| Magazine Format | Digital Download Magazine, Print Mailed Magazine |
|---|
Related products